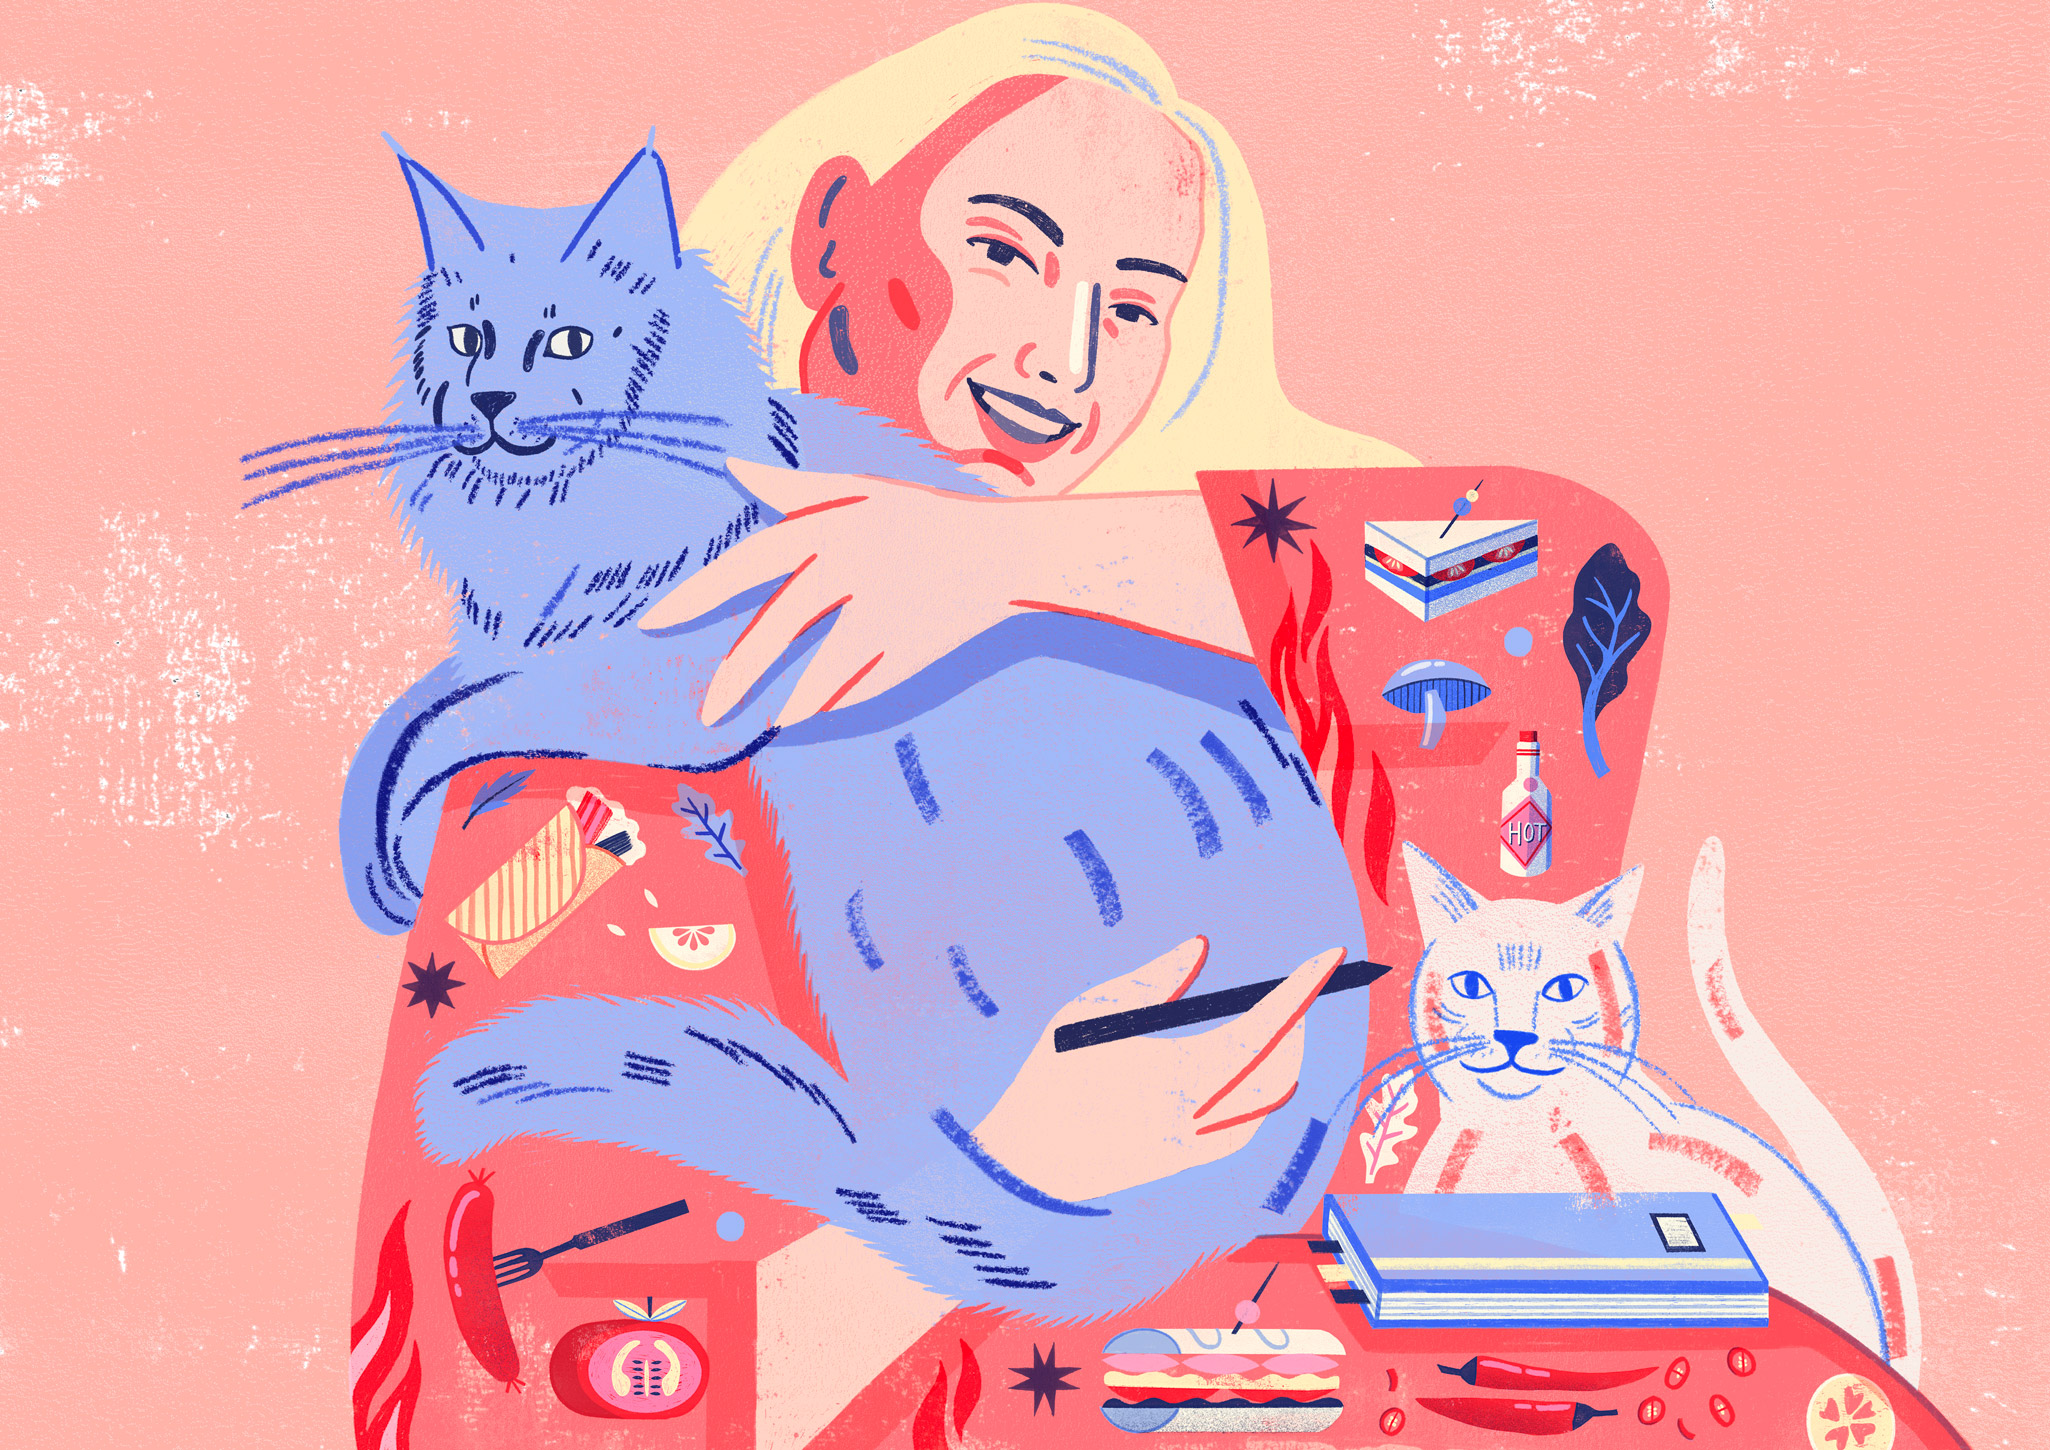
Helen Graves is a food and recipe writer and editor based in south London.
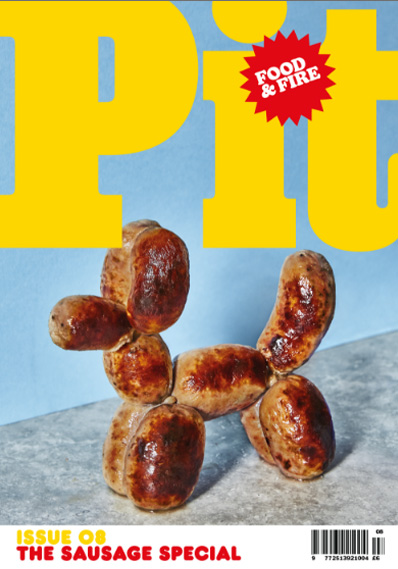
She is editor and co-founder of Pit, a multi-award-winning indie food magazine, and writer of Flavour Nuggets, a Substack designed to supersize flavour in everyday cooking.
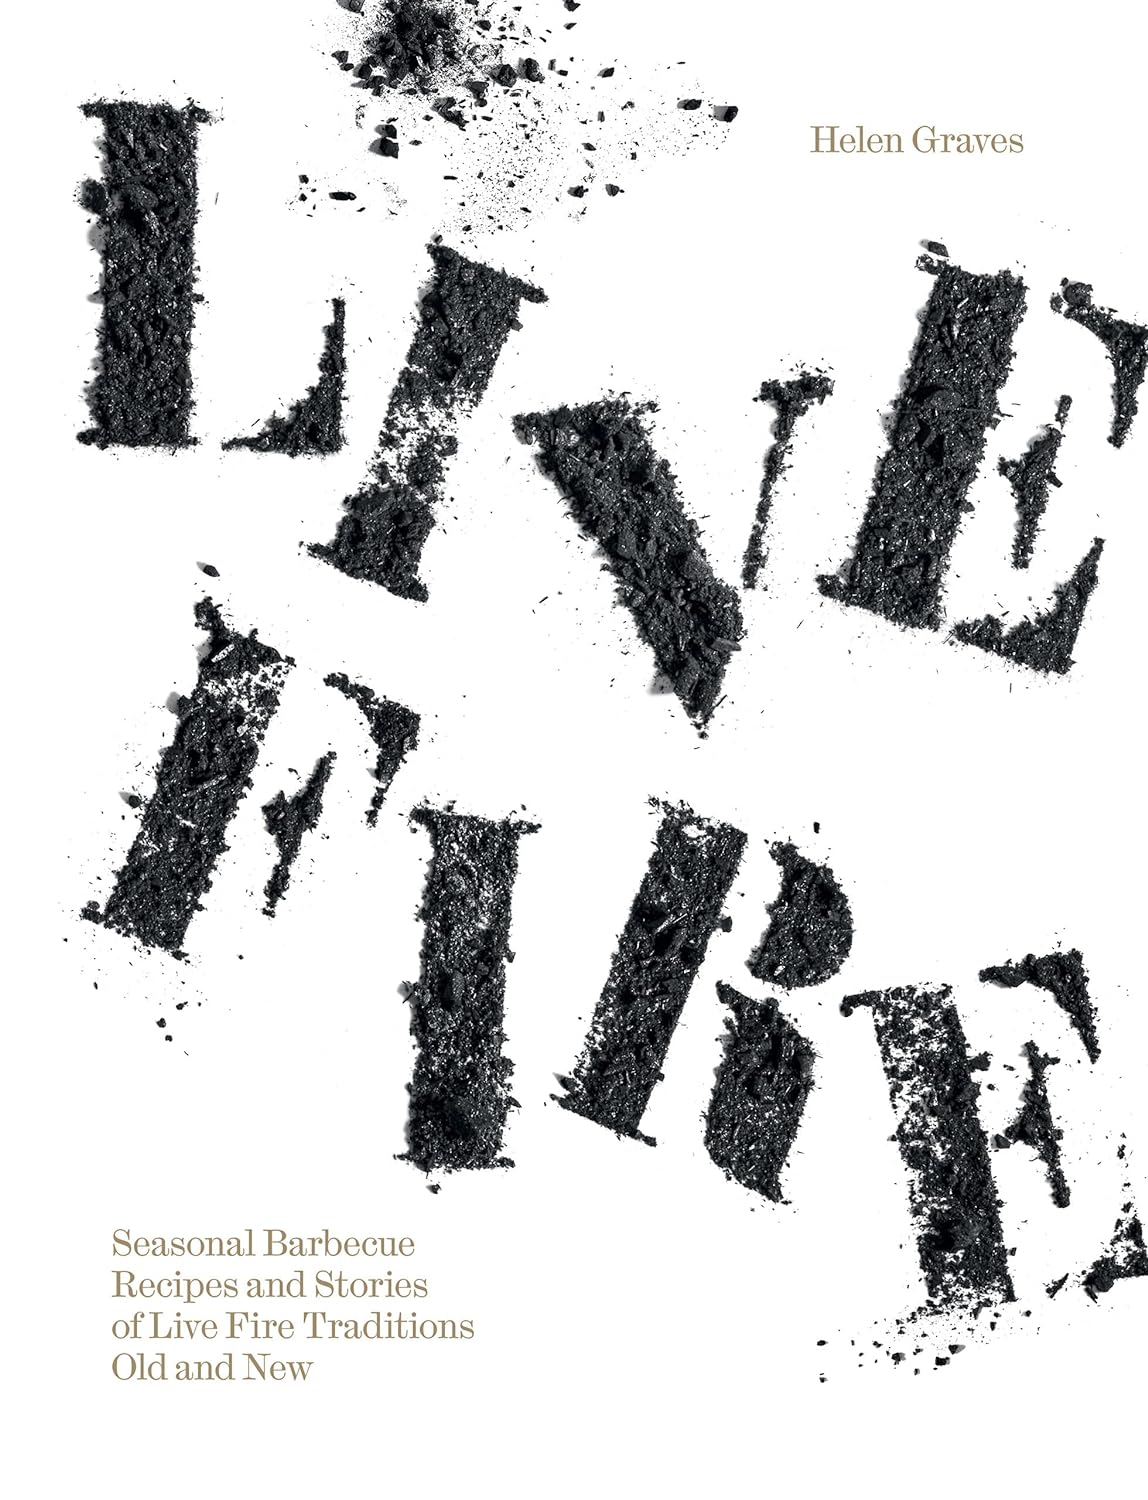
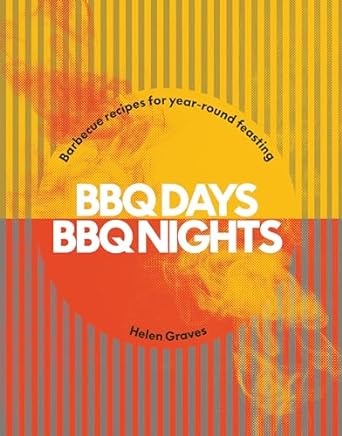
She has written words and recipes for most major food publications in the UK and has published two BBQ-focused cookbooks: Live Fire and BBQ Days, BBQ Nights.
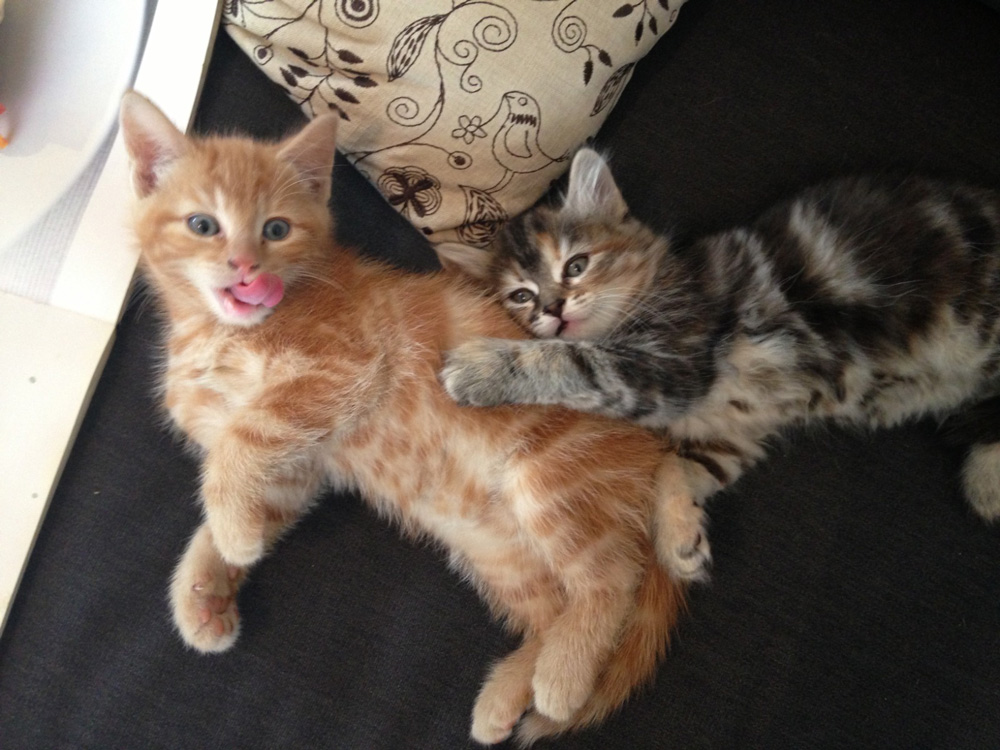
Right now, she will be cooking, eating, or hanging out with her two cats.